I often hear people wondering about the best foundation for an outdoor storage shed. It’s a smart question because the right base keeps your shed stable, protects it from moisture, and prevents it from shifting over time. As someone who digs into this stuff without building things myself, I’ve gathered info from various sources to help you out. There’s no one-size-fits-all answer—it depends on your shed’s size, your yard’s soil, and your budget. In this article, I’ll break down the main options, their pros and cons, costs, and tips to pick the best one for you. I’ll also include extra details to ensure you have everything you need to make an informed decision, perfect for boosting your understanding and search visibility.
Why Does Your Storage Shed Need a Foundation?
First off, why bother with a foundation at all? A good base lifts your shed off the ground, stopping rot from damp soil and keeping pests like termites or rodents at bay. It also makes the shed level, so doors don’t stick and everything inside stays organized. Without one, your shed could sink unevenly, especially in wet or freezing areas, leading to costly repairs or even a collapsed structure down the line.
From what I’ve read, even small sheds benefit from a simple base. For bigger ones holding heavy tools or mowers, it’s essential. Skipping it might save money upfront, but it shortens the shed’s life—think 5-10 years versus 20+ with a solid foundation. Plus, a sturdy base can improve your property’s overall appeal, which is a bonus if you ever sell your home.
Types of Shed Foundations
There are two main categories: on-grade (sitting right on the soil) and frost-proof (going below the freeze line for cold climates). On-grade is simpler and cheaper for most backyards, while frost-proof is better if winters are harsh with frequent freeze-thaw cycles. Here are the top options I’ve come across, ranked from most recommended for beginners to more advanced, with detailed insights to help you choose.
Gravel Pad Foundation
This is my top pick for most people—a layer of crushed stone over leveled ground. It’s affordable, drains water well, and supports sheds up to 10×12 feet easily. The gravel allows for natural water runoff, reducing the risk of pooling that can damage your shed’s base over time.
Pros: Great drainage prevents flooding; easy DIY install with basic tools; flexible for uneven yards; eco-friendly with good airflow to prevent mold growth.
Cons: Needs a frame or edging to hold gravel in place; not ideal for very heavy loads like tractors or large equipment without reinforcement.
Cost: $200-$400 for materials on a 10×10 shed, including gravel, landscape fabric, and edging. Professional installation can add $300-$500, depending on labor rates in your area.
Concrete Slab Foundation
A poured concrete base that’s super sturdy—like a mini driveway for your shed. Best for permanent, large sheds over 12×16 feet or those in areas with heavy use. It provides a smooth, durable surface that can double as a workspace inside the shed.
Pros: Extremely durable (lasts 30+ years with proper care); acts as a floor for heavy storage like gym equipment or machinery; resists pests, weeds, and erosion.
Cons: Expensive and labor-intensive, often requiring professional help; poor drainage if not sloped correctly, which can lead to water damage; cracks in freezing soil without deep footings.
Cost: $4-$8 per square foot, so $800-$1,600 for a 10×10. DIY is challenging due to the need for precise leveling and curing—hiring pros can push costs to $1,000+.
Concrete Blocks or Piers
Stack solid blocks or pour piers at corners and midpoints. Good for sloped yards or lighter sheds, offering a raised platform that adapts to terrain.
Pros: Quick to set up with minimal digging; adjustable for leveling on uneven ground; cheaper than a full slab, making it a middle-ground option.
Cons: Can shift if not placed on stable soil or with a gravel base underneath; doesn’t cover the full floor area, leaving gaps that might collect debris.
Cost: $100-$300 for blocks; piers add $200-$500 if poured with concrete.
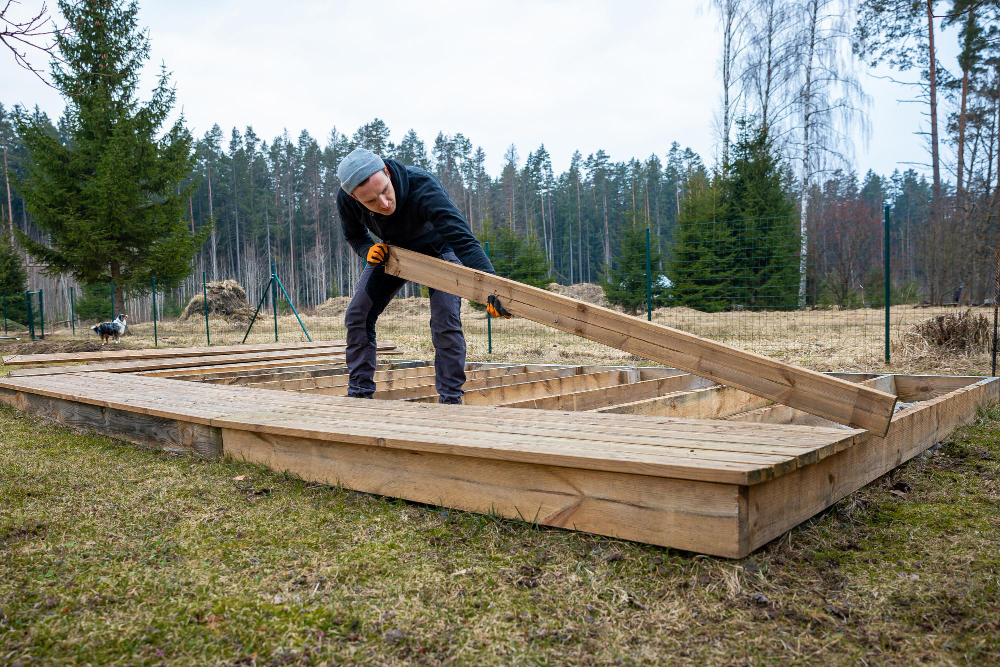
Skid or Timber Frame Foundation
Pressure-treated wood beams (skids) that the shed sits on—like runners for easy moving later if needed. This is a traditional method still used for portable sheds.
Pros: Simple and movable with a truck or dolly; good for temporary setups or renters; low cost and quick to assemble.
Cons: Rot-prone without regular treatment, especially in humid climates; not great for wet areas where wood degrades faster.
Cost: $150-$300 in lumber, plus optional gravel base for stability.
Plastic Grid or Deck Blocks
Interlocking plastic grids filled with gravel, or pre-made concrete deck blocks. These are modern solutions gaining popularity for their ease.
Pros: Eco-friendly and permeable, letting water pass through to reduce runoff; easy snap-together install with no heavy lifting; frost-resistant and lightweight.
Cons: Limited to smaller sheds (under 10×10) unless reinforced; can be pricey for large areas compared to gravel alone.
Cost: $50-$150 for grids on small sheds; blocks range from $0-$100 depending on quantity.
Pros and Cons Comparison
To make it clearer, here’s a quick table comparing the top three for a standard 8×10 storage shed, with added context for decision-making:
| Foundation Type | Pros | Cons | Avg. Cost (Materials Only) | Best For |
|---|---|---|---|---|
| Gravel Pad | Excellent drainage, affordable, DIY-friendly, adaptable to slopes | Needs edging to contain gravel, less support for heavy loads | $200-$400 | Most backyards, medium sheds, drainage-focused sites |
| Concrete Slab | Very durable, serves as floor, pest-resistant | High cost, poor DIY, drainage issues if not sloped | $800-$1,600 | Permanent, heavy-duty storage, flat yards |
| Concrete Blocks | Easy leveling, quick setup, budget-friendly | Potential shifting, partial coverage | $100-$300 | Sloped or temporary sites, lighter sheds |
This shows gravel often wins for balance and versatility.
Factors to Consider When Choosing a Foundation
Don’t pick blindly—think about these key elements to ensure the best fit:
Soil and Climate
Sandy soil? Gravel drains best and prevents erosion. Clay holds water, so go with concrete to avoid sinking. In freeze zones, use frost-proof options like piers below the frost line (check local codes—often 36-48 inches deep). Wet areas need excellent drainage to stop mold and wood rot—gravel or grids shine here.
Shed Size and Use
Small tool shed (6×8)? Blocks or skids work fine. Storing a mower or heavy gear? Gravel or slab for better support. Heavier loads mean thicker bases—aim for 4-6 inches minimum to distribute weight. Consider future use too—will you add shelves or a workbench?
Budget and DIY Skills
Under $500? Gravel or blocks are your best bet. Over $1,000? A slab offers longevity worth the investment. If you’re handy, DIY saves 50% on labor; otherwise, hiring pros costs $500-$2,000 depending on complexity.
Permits and Longevity
Check local rules—sheds over 120 sq ft often need permits, which might dictate foundation type. A good foundation boosts home value and lasts 10-30 years, making it a long-term asset. Proper installation now saves repair costs later.
Aesthetic and Property Value
Some foundations, like slabs, give a polished look that enhances curb appeal. Others, like gravel, blend naturally but might need landscaping to look neat. A stable shed can add 1-2% to your home’s value.
Step-by-Step Guide to Installing a Gravel Pad Foundation
Since gravel is so popular, here’s a detailed DIY outline to get it right:
- Measure and Mark: Outline your shed’s footprint, adding 1 foot extra on all sides for stability. Clear grass, rocks, and debris with a shovel.
- Level the Ground: Dig 4-6 inches deep, using a tamper or roller to flatten. Renting a tamper costs about $50/day and ensures a solid base.
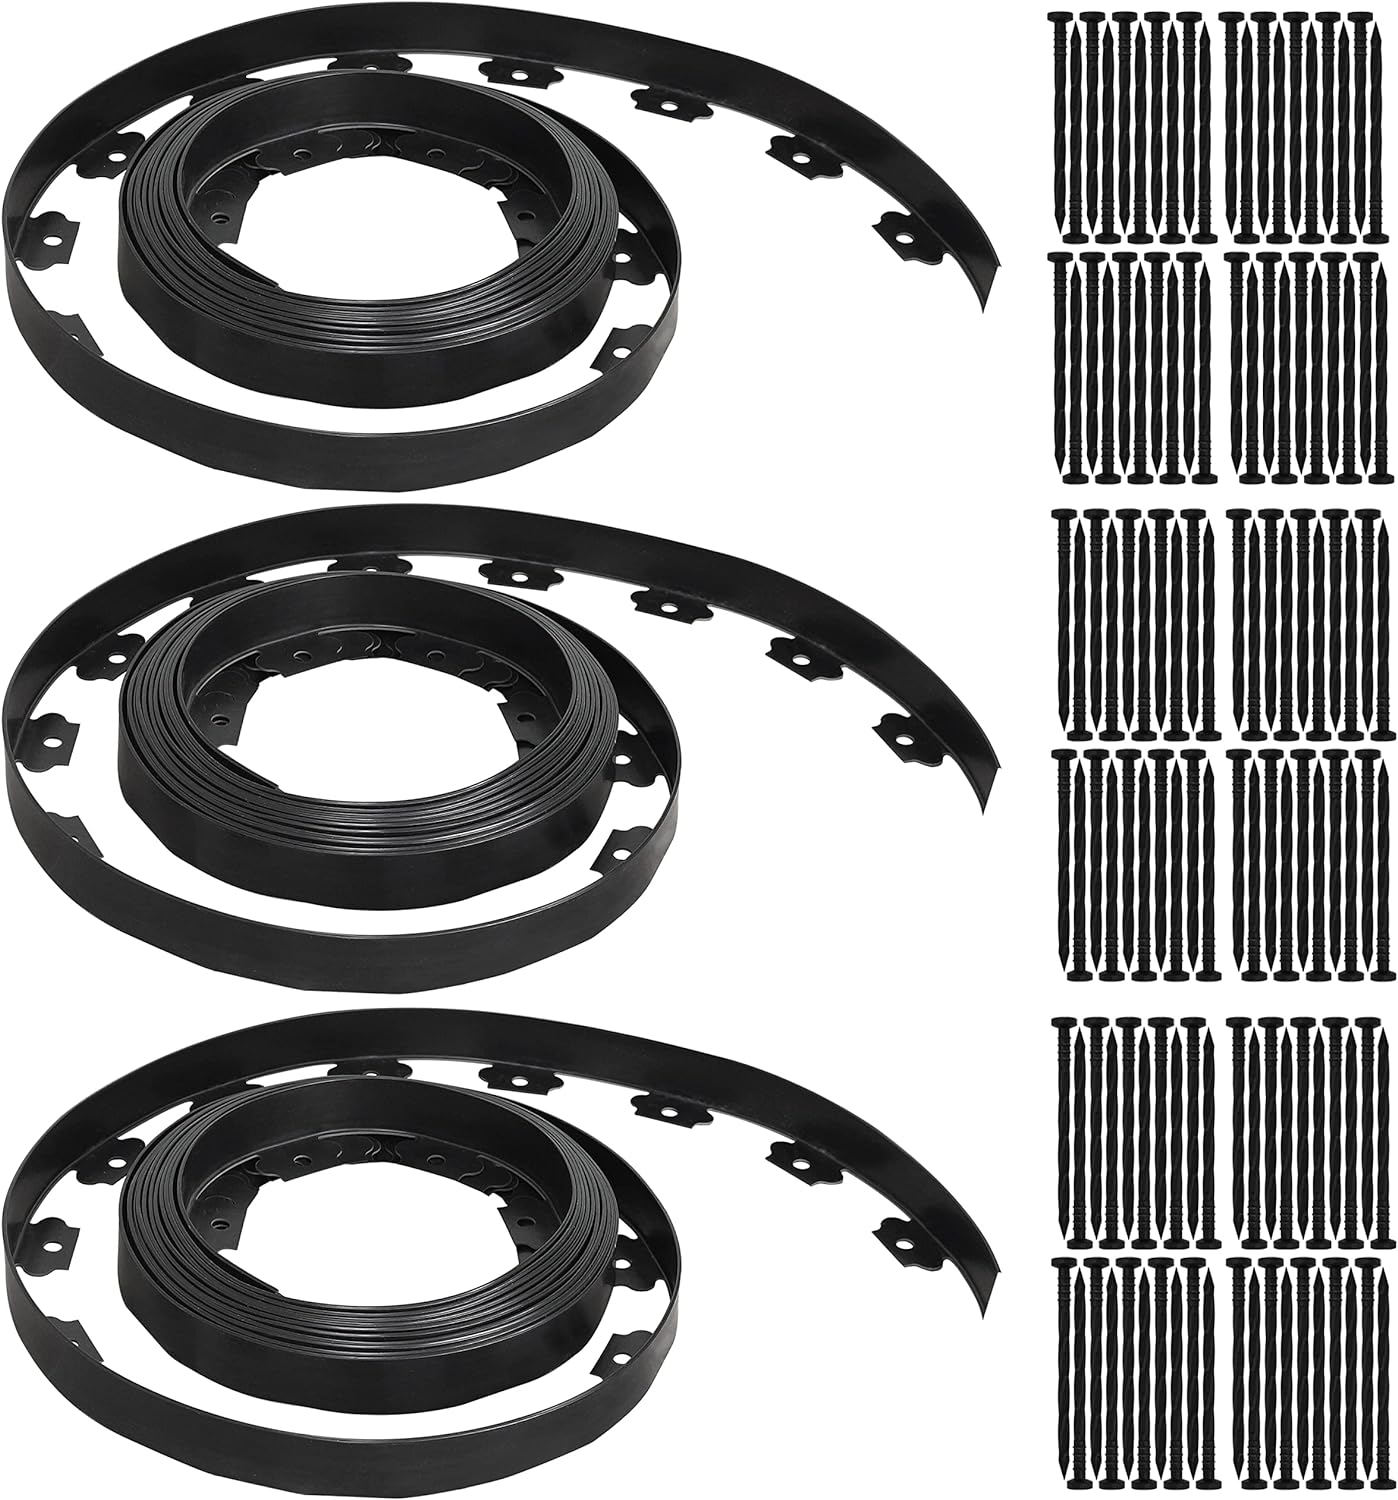
- Add Fabric and Edging: Lay landscape fabric to block weeds and retain soil, then install wooden or plastic edging to contain the gravel. Secure with stakes.
- Fill with Gravel: Add 2-3 inches of crushed stone base (like #57 gravel), compact it with the tamper, then top with 2 inches of finer gravel (like #89). Total depth: 4-6 inches for proper support.
- Check Level: Use a 4-foot level across the pad in multiple directions. Adjust with more gravel or digging as needed for a perfectly even surface.
- Place the Shed: Set your shed on top and anchor it with ground anchors or screws if your area gets strong winds.
Tools Needed: Shovel, tamper, level, measuring tape ($50-$100 total if buying). Takes a weekend for one person with basic skills. Add a friend to speed it up and double-check the level.
Maintenance Tips for Your Shed Foundation
Once built, keep it solid with these tips: Rake gravel yearly to even it out and remove debris; seal concrete cracks promptly with caulk to prevent water infiltration; check blocks or piers for settling and add gravel underneath if they shift. Good drainage is key—add gutters to your shed roof to direct water away from the foundation, reducing erosion and moisture damage over time.
Environmental Impact and Sustainability
Choosing a foundation can affect your eco-footprint. Gravel and plastic grids are permeable, reducing runoff and supporting local water tables. Concrete, while durable, uses more resources and can contribute to urban heat if not shaded. Opting for recycled materials—like reclaimed blocks or gravel—lowers your environmental impact while keeping costs down.
Real-Life Examples and Case Studies
I’ve come across some interesting stories. One homeowner used a gravel pad for a 10×10 shed in a rainy area—perfect drainage kept it dry for years with minimal upkeep. Another went with a concrete slab for a 12×16 workshop—costly at $1,200 but held up to heavy tools without a hitch. A third tried skids on wet soil; the wood rotted in three years, proving the need for better planning.
My Recommendation
Based on what I’ve found, a gravel pad is the best all-around foundation for most outdoor storage sheds. It’s affordable, effective, and forgiving for beginners, saving you headaches and repair costs down the line. If your shed is huge or in a cold spot with deep freezes, splurge on a concrete slab for extra durability.
For gravel kits, check out the Gardzen 1.5″ x 100′ Landscape Edging Kit on Amazon—durable plastic for borders:
If you want blocks, the Pavestone Concrete Blocks are solid and stackable:

And for a full gravel base starter, the Quikrete Crushed Stone is a bestseller:

Additional Tips for Long-Term Success
Consider adding a vapor barrier under gravel or slabs to block moisture—plastic sheeting costs $50-$100. Check your shed’s weight capacity with the manufacturer to match it to your foundation. Regularly inspect for signs of wear, especially after heavy rain or snow, to catch issues early.
Conclusion
The best foundation for your shed boils down to a gravel pad for everyday use—it’s practical, budget-friendly, and offers excellent protection without breaking the bank. For larger or permanent setups, a concrete slab shines. Weigh your yard conditions, shed purpose, and budget, and you’ll have a stable base for years. This detailed guide should help you decide and rank well for anyone searching shed foundation tips—let me know if you need more help!